The subheadline here is “assuming you’ve worked for hours to understand how Kubernetes works”.
Like many people, I too run Kubernetes. Like many of you, I hand-wrote all my service and deployment yaml. And, like many of you, I decided to look into what this Helm stuff was about.
Life was simple when it came to using others charts. But I really needed to create my own. And oh, how I beat my head against the wall when it came to creating them. Then I found there is a secret hidden inside of Helm, When I discovered it, that shaved off days of work. When I shared it with my colleague, he asked me why it wasn’t emblazoned on everything. I couldn’t tell him.
I ran across this tutorial (How to make a Helm chart in 10 minutes), and I think I can do one better. Let’s do this in 5 minutes.
These prerequisites are beyond the scope of this article:
- A working Kubernetes Cluster (create one in Azure using this quickstart article) and a connection to it from your current box.
- An understanding of the yaml deployment schema,
- chocolatey install
- kubectl command-line install and usage
Let’s take a simple deployment that you’re working, such as the following. Put it in a file called nginx.yaml. I got it from here:
apiVersion: apps/v1
kind: Deployment
metadata:
  labels:
    app: example1
  name: example1
spec:
  replicas: 1
  selector:
    matchLabels:
      app: example1
  template:
    metadata:
      labels:
        app: example1
    spec:
      containers:
      - image: nginx:latest
        name: nginx
Let’s install helm using choco. Launch an elevated PowerShell command prompt and run the following.
choco upgrade kubernetes-helm
Now cd to your favorite directory and create a new helm chart.
mkdir c:\dd
cd \dd
helm create mynewchart
This is what it generates.

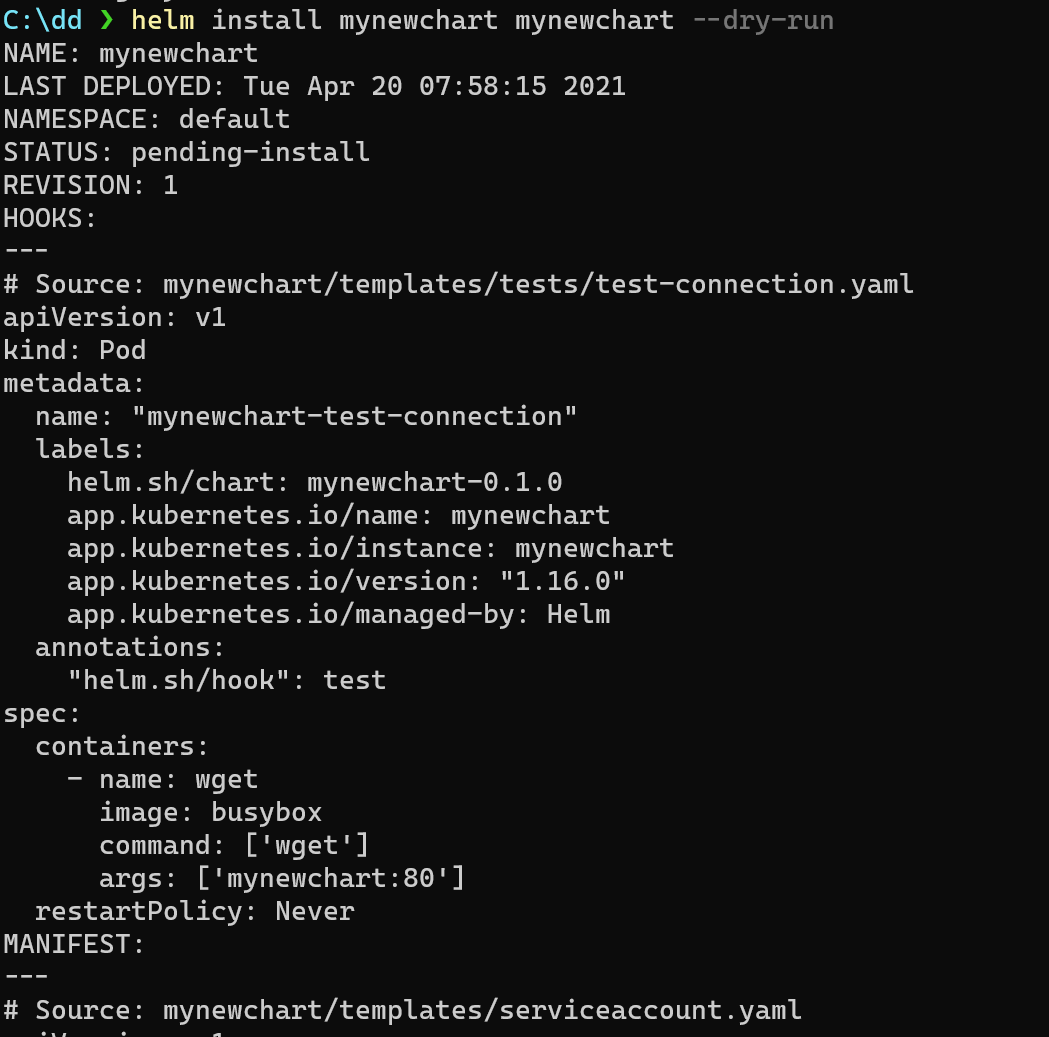
Running install with –dry-run shows you what will be pushed up.
helm install mynewchart mynewchart --dry-run
Remove all the existing templates and then copy your nginx.yaml file into the templates file.
del C:\dd\mynewchart\templates\*.yaml
del C:\dd\mynewchart\templates\*.txt
copy-item c:\dd\nginx.yaml c:\dd\mynewchart\templates
Now do a dry run again.
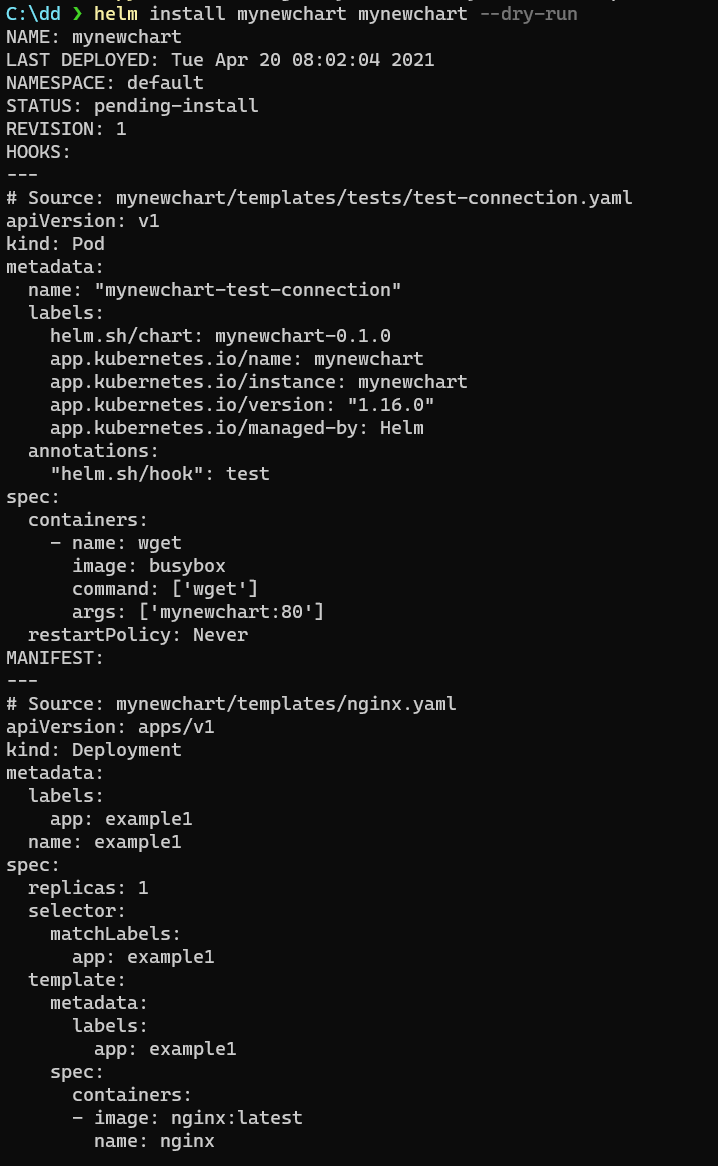
Now drop the –dry-run and you can install it to your k8s cluster.
helm install mynewchart mynewchart

You can see it in action by running
kubectl get deployments,pods

And we’re up and running. To uninstall just run:
helm uninstall mynewchart
kubectl get deployments,pods

Til next time!
