As with many of you in quarantine, I have been going stir crazy. I have tried doing a bunch of stuff, along with working, but nothing has really taken hold.
Until last week, when I took apart my amplifier, my Stratocaster, and then my Stratocaster again.
This is to document what work I’ve done so far, along with my thinking on it. I plan on it being at least 6 parts:
- Amplifier
- Stratocaster Output Jack
- Stratocaster Teardown
- Pickups
- Switch
- Volume and Tone Pots
Today, we are going to talk about amplifiers. Specifically, we are going to be discussing my Pignose Hog 30 amplifier.
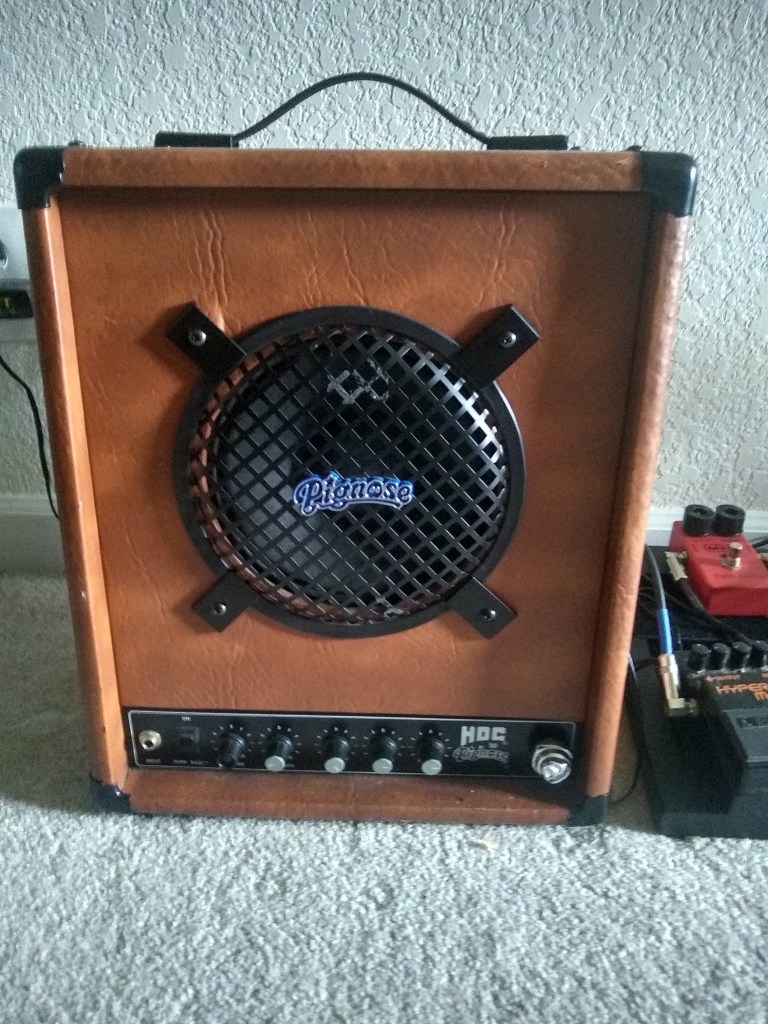
Isn’t she pretty? I picked it up at the pawn shop a couple years ago on the cheap as it wouldn’t turn on. The On/Off knob (lower right) was disconnected, and the pawn shop wasn’t about to do anything about it.
I started by taking off the grill cover as you see it there. That was a waste of time as it doesn’t actually hold anything beyond the grill cover.
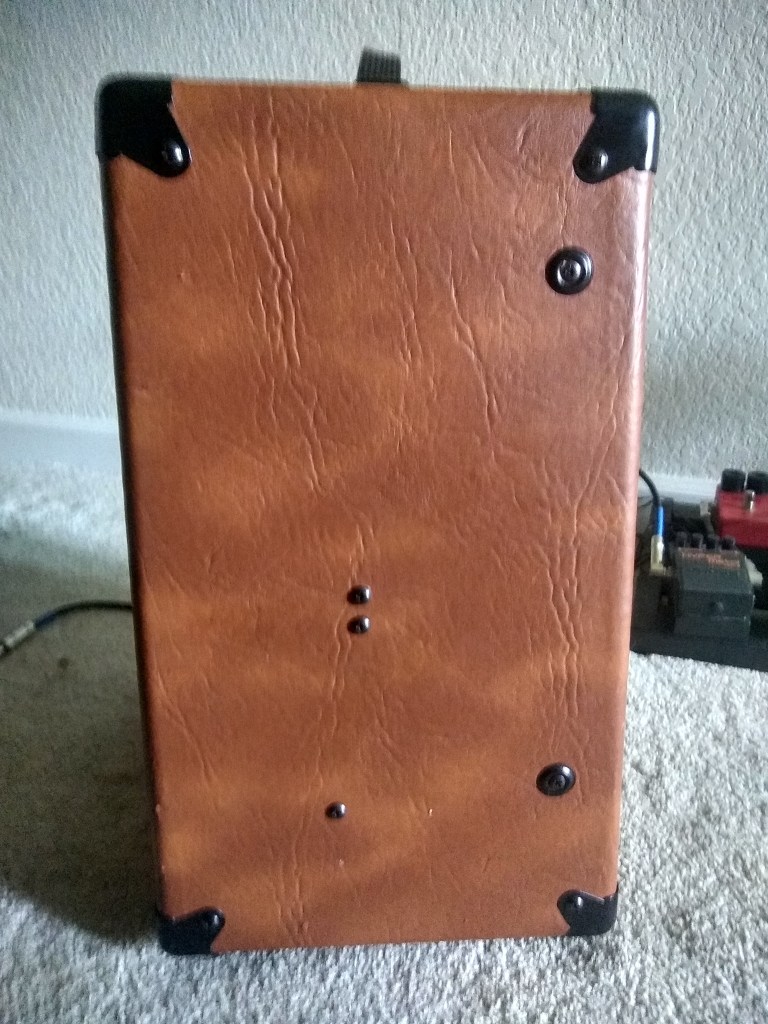
Then I unscrewed the back. Here you can see the outline of the 5 screws I took out to remove the back. The screws in the upper left and right corners I left in.

Pulling that out, I then moved to the sides. Again, the ones appearing to attach the corners I left alone. The two on the right vertically hold in the front speaker. I removed those from both sides and was able to take out the speaker panel. I didn’t touch the speaker because I didn’t know if it was good or not. Getting the power working was the first priority.
As you can see below, there is an upper wooden arm and a lower wooden arm. Both are held in by the 3 screws in the middle above. After taking out those screws, then I needed to remove the screws that held the amplifier circuitry. Those were on the bottom of the amplifier. I then had to remove the two batteries, left and right, which sat on top of the circuit board. Finally, there was a wooden cover over the top of the circuitry held in by another set of screws.

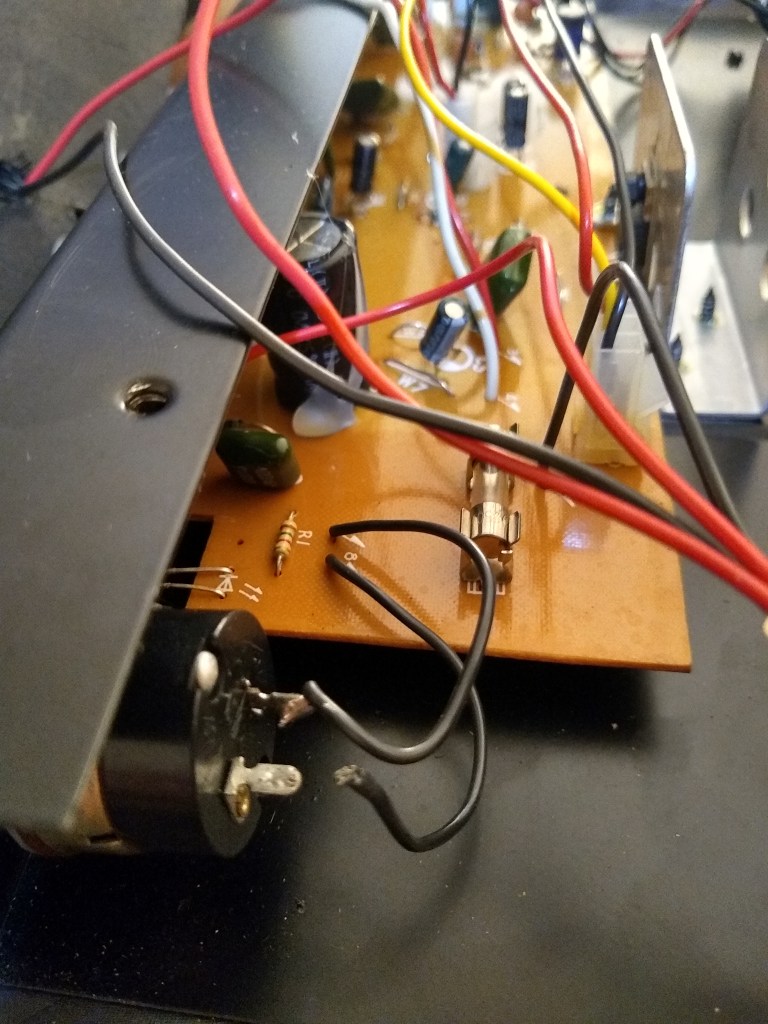
PHEW! Now we can get to the real issues. First up was the on/off switch. It is held in place by a nut, but the nut was loose, and it wasn’t easy to get tightened. I don’t have a picture for that part, sadly.
Second, it appeared that the on/off switch had one of it’s leads come out of the solder. Bringing out my soldering iron, and a little solder, and it was right back on.
At this point, I could turn the on/off switch, and the power light would come on. Was I finished? Only one way to tell. I plugged in my trusty Strat, and hit a chord.
Bingo!
I will admit it was a bit of luck that it was really that simple to get it going again. We’ll pick up with my next little adventure in part II.

[…] Amplifier […]